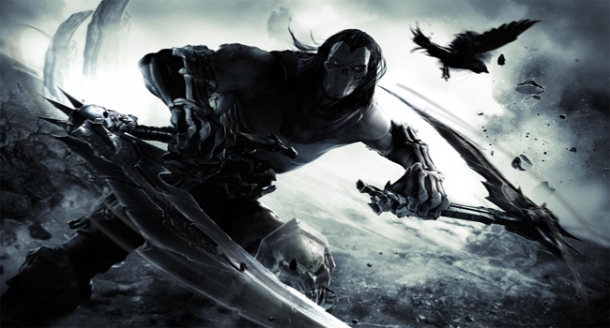
Leviathan's Drift
Now you are given a new task - finding the 7 pieces of the Armageddon blade and taking them to Ulthane. Put your mask of shadows on and cross the invisible bridge in front of you to find the first piece of the Armageddon blade. Head to the nearest Vulgrim location and use the serpent hole to travel to Anvil's Ford to talk with Ulthane. You will also notice on the map some new Shiny additions bouncing around – each of these golden icons indicates the location of one of the Armageddon Blade Shards. After a quick chat with Ulthane, we're off to find the remaining 6 blade shards. Let’s return to Vulgrim and use the serpent holes to get where we need to go, starting with the Drowned Pass.
Piece 1: Drowned pass
If you arrive via the serpent hole you will see the shard sitting on top of the building to your left. Jump into the water and swim to the far building, head up to the top floor and put on the mask of shadow, you will be able to see an invisible grapple point. Use the chain to get up a bit higher and make your way across to the next rooftop to claim the shard.
Piece 2: The Crossroads
From the Vulgrim location, put your mask on and look to the southwest to see an invisible shadow flight geyser. Use it to access the platform above, follow this to the left and use the next invisible geyser to jump across to grapple point dangling in the air here to swing onto the next building. Use the invisible geyser here to access the upper balcony. Follow this to the end to pick up the 3rd piece of the sword.
Piece 3: The Choking Grounds
Make your way to where you met the gatekeeper in this area. Just before on the left is a small hole in the side of the road. Drop down here and use the shadow flight geyser to reach the second level. Then use the demonic growth to go up further, finally move to the pile of debris in the corner and use your abyssal chain to attach to the demonic growth through the hole in the ceiling above. Use the mask of shadows and locate the invisible shadow flight geyser here to reach the rooftop, then simply waltz on over and grab shard no. 4.
Piece 4: The Broken Stair
Fight through the building, across the highway and into the building where you hi-jacked the holy beast earlier. On the roof of this building you will find the fifth piece of the Armageddon Blade.
Piece 5: The Dry Road
Head out from the Vulgrim location across the gap and up the demon growth. Head up the hill in front for a short scene and a boss encounter.
Boss: Uriel
- Charge: Uriel will charge across the ground to hit you. As she performs this attack you can easily side dash to avoid it.
- Spin drop: If you get too close for too long she will jump into the air and drop to the ground with a shockwave. Dash out of the way to prevent taking damage.
- Throwing blades: If you get to far away from Uriel, she will throw swords at you, along the ground, usually in groups of 4-5. These can be avoided by dashing at an opportune moment.
- Sword Rain: After taking a bit of damage, Uriel will take to the sky and summon heavenly swords to fall around the area. This lasts for about 15 seconds and you will need to watch out for blue glowing sections of ground which indicate a sword on the way. Keep moving to avoid the attack.
Strategy:
As before, your best bet is to treat her like any other heavily armoured bad guy. Get in close, take a few good swings (don’t get greedy), then back away to dodge her retaliatory attacks. After taking a bit of damage, she will fly into the air and summon falling swords to come and get you, look out for the glowing blue sections of ground as this is where swords are scheduled to fall. Continue to move around the area until the sword rain stops, and then rejoin your assault on her. When you have done enough a short scene will play.
Once the boss fight has drawn to its conclusion, look behind the ruin to the right to find the next piece of the sword.
Piece 6: The Ash Lands
From the Vulgrim location, exit the tunnel and head right. Follow the wall until you reach a rocky platform with climbable ledges on it. Cruise on up and at the top you will see a fork, the top is blocked by red crystals, so head to the left. Put on your mask of shadows to see some invisible bomb plants up on the wall to the left of the crystals here. Use your abyssal chain to grab one and toss it at the red crystals. Follow the path all the way to the top (leave your mask on to be sure to see the grapple point) and you will find the final piece.
| INFO: Before we head back to Ulthane, now that we have all of War’s abilities, it is a very good time to head around the world and find all those nasty collectibles, unlock our additional health/wrath bars and find ourselves the Abyssal armour set. Check out the Lifestone guide, Wrathstone guide and the Abyssal Armor Piece guide. |
When you have everything or you feel sufficiently ready, head back through a Serpent Hole to Anvil’s Ford and enter Ulthanes Forge. Talk to him and after a short story scene you will be rewarded with the Armageddon Blade.
