Take the path that leads into some cave area, where you'll find a bolt crank. Turning it will reveal the next path, but it only stays open for a few seconds, so hurry on through it. You'll now be in a cave area, but if you go through the other tunnel, you'll find some Raritanium. In the next area, if you drop down below, you'll find more Raritanium and a few crates with bolts.
To continue, you need to turn the bolt crank and raise/lower the targets, then shoot the further one first. Note that you only have 25 seconds to connect the two targets, hop across the platforms and ride the beam to the next area. Here, you'll find another part for the RYNO VII, as well as more Raritanium on a ledge near the lone platform.
Keep going forward, paying no mind to the enemies scurrying about, as they'll disappear when you get close. However, when the earthquake causes a piece of the cave to fall, some of those bug-like creatures will come out and charge you. Hop across to the next area, where you'll find a plant that generates some of the monsters you just encountered.
As you go forward, you'll encounter three more of these plants near the cave's exit. Concentrate on them first and once they're destroyed, you can clean up the rest of the enemies. Outside once again, glide down to the next area and you'll start encountering some Thugs again. For the Grav Targets, connect the two going across the canyon, then connect the other two, riding the beams to some more Thugs.
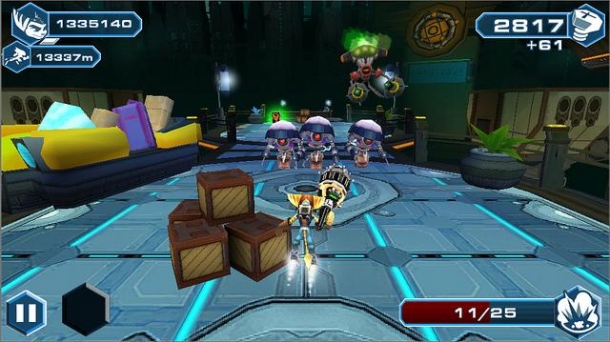
Connect the next two beams, then cancel and connect the one you used previously to get across to a ledge with a bolt crank. Turn it to make one of the Targets rotate. Within 30 seconds, connect the target that turned to the one across the way, then cancel the previous beam and make it go the opposite way. This will allow you to ride the first beam and jump to the other going to the next area. Kill the enemies, man the turret and open the grate, going inside for a scene.
After it's over, find the rift opening on the wall and enter it. You're now in control of Clank and have the ability to change your gravity using the right analog stick. Follow the instructions and make your way to the right and down, until you come to a Nether. Smack it to wake it up, then quickly follow the left path to get back to the portal, where you go back to reality and open up a path to the next area.
Continue on and glide back down to an area you've been before, heading straight to the wall ahead to find another rift. This one's a little more challenging than the first, as there are blocks you need to move (you can use gravity or push/pull them with Circle) onto illuminated spots on the ground to open up doorways.
The first block is easy, but the second takes a little maneuvering. Pull it and then use gravity to get it out of the first hole, then do the same to get it into the hole with the laser. Once it's in there, make gravity go to the right to place it on the switch and open the door to the Nether. Bringing it back to the portal isn't difficult, besides the fact you need to get a block onto a switch while avoiding the Nether. When you do that, the rest of the way is easy.
Drop down and turn the bolt crank to make a Swingshot target appear. Swing across and then do the same with the second set to land on an island with another bolt crank. Turning it will give you 15 seconds to swing across to the next area. Here, glide down and pick up the audio journal, then connect the two Grav Targets.
Ride the beam and then jump off and use the Swingshot to get to the next platform. Use the next Swingshot to climb up, then keep going until you come to a mini-boss. This is a pretty easy boss, as its only two attacks involve sweeping the ground with a laser one way, then immediately doing it in the opposite direction right after. It periodically puts up a shield, allowing it to take no damage. Keep blasting/hitting it with yur wrench to put it down for good.
With the boss gone, use the Grav Tether to get to the platforms that drop, then cross those and use the Tether again to get inside of the orphanage. Follow the path, eliminating any enemies, until you eventually come to a dead end, where the floor will collapse below you. There are some plants that spawn enemies here, so take your time and destroy them first before you're overrun.
Follow the path behind the plants, using the vendor to replenish your ammo if needed, until you come to another rift. The only tricky part at first is getting past the platforms that change gravity when you do. When you get to the Nether, make your way until you come to another of those platforms, where you will need to go up to move it out of the way. The rest of the way to the portal is easy.
Glide down and continue on for another scene. The Nethers you fight afterwards are similar to Thugs, but they teleport around, making it hard to hit them sometimes. The good thing about killing them is that they give you one Raritanium. Keep going until you finally get out of the cave and see another scene, with you finally having access to your ship after it.
| You have the option to go to either Planet Kragg or Planet Silox next. It is wise to go to Kragg next, since you can only go so far in Silox without needing an item from Kragg. |