- Enemy Intelligence: 3
You will start this mission partnered with our recently released buddy Captain Price. The start of this level is quite similar to the first Chernobyl level in Call of Duty 4 and sees you sneaking into a submarine base (preferably undetected). For the most part, Price will hold your hand, telling you exactly what you will need to do. So stick close to him and do as he says.
From the start, follow your new mate forward until he sees a patrol, wait for a second, then move up into the bushes to the right of the path. Wait for the car to pass and when instructed, kill one of the two guards nearby who have stopped for a smoke, whilst Price takes down the other. Move up to the bodies and you will now need to take out the dog and its handler on the road in front of you and your other half will take down the two soldiers in the woods behind. Shoot the dog first, if you don’t, it will immediately bark, alerting any enemies in the nearby area to your presence.
When the whole patrol is down, continue down the road and head across the bridge. When you reach the top of the next hill, you will be spotted by an enemy armoured vehicle, quickly run past it and off the road to the right into the trees. When Price slows down, you can stop and take a moment to chilax. The vehicle won't chase you anymore, but now you have to get through all the patrols out hunting for you.
Continue to follow Price, letting the first patrol pass by and when it is safe to do so fall in behind Price and keep right on his tail until he stops. Ahead is a three man patrol, you will be given the option to take them out or leave them be, take them out. Look in the bushes just to the left and in front of their position to find Enemy Intelligence (1/3). Follow Price under the pipeline and further up the hill until he stops and tells you about another group of baddies in front. Take out the two soldiers on the right as instructed, and Price should drop the guard with the dog. Sometimes he will notkill the dog, so be sure to pop the canine if he doesn’t to prevent an alarm being raised.
Coming to the top of the next rise, there will be another enemy patrol coming into the area from the left. You are given the option to try to eliminate them or to let them pass. This time, let them pass and when clear, follow Price until he stops for a breather under the large pipe. Wait for the enemy patrol to depart before jumping out of cover and heading up the hill to the right. Slide down the other side.
As you make your way into the next area, another group of allies will regroup with you. This area consists of a number of snowed under houses and the goal is to reach the exit in the western most portion of the area. A large contingent of enemies will enter the zone through a gate in the north of the area and will make progression pretty difficult. Slowly move up between the houses and assist the squad in cleansing the area by killing enemies from cover when appropriate. Alternatively you can move up the street on the left side of the area until you reach the boom gate blocking the way, then turning to the right and climbing to the roof of the house here to get a good view of the area which makes destroying the enemy resistance much easier.
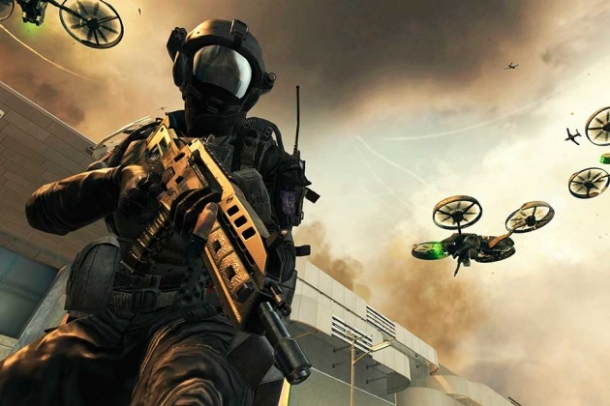
When the area is clear make your way to the path exiting the area from the northwest and follow it to the bottom of the hill. You will now need to move through the base here to the submarine on the opposite side of the area as quickly as possible. Keep in mind that you do have your UAV which you can control every 30 seconds or so to bring down a missile on the heads of enemy armour and infantry.
Before you start your assault, use your UAV to destroy the helicopter on the roof, this will alert the base, so take out the enemies in the small courtyard directly in front of you. Cruise through the gate and to the left to find a building with the number 33 printed on the side, enter this and clear the enemies inside. In the third room, just before the exit door you should find Enemy Intelligence (2/3) sitting on a desk to the left. Exit the building hereand continue straight ahead. By now you should have the UAV ready to fire off another missile – use it this time to take out either a cluster of enemies or a vehicle.
Clear the enemies around the building in front of you and look up for a set of stairs on the left. Make your way to the top of these to find Enemy Intelligence (3/3) in the corner. Return downstairs and head through the building. On popping out the other side, turn left and kill any enemies residing along the wall here and then pull up behind the first crate and use your UAV missile to clear any enemy vehicles nearby. Continue through the gap in the stone wall here and fight your way to the guard tower with the number 33 on it between your current position and the crane near the submarine.
Climb to the top and once there you will need to defend the area against several waves of enemies. Luckily you have your UAV still, so be sure to use it as soon as it becomes available and as often as possible, with the missiles you should do your utmost to prioritise large groups of enemies, troop transport vehicles and enemy armour. Between missile strikes, pull out your sniper rifle and assist the rest of the squad in firing down death on the enemies below. Towards the end of the attack, the UAV will be taken out of commission, so just snipe away until the mission ends.

