At the start of the level, free the Knight's shield from the webbing to gain access to its powers. Note that you will always have access to the Knight's powers, which is mapped to the L1 button. The Witch will appear and give you a tutorial on how to use its powers, which can block attacks, as well as reflect projectiles. You can only block so many times before the shield gives out, after which you will need to let it rest a few seconds to allow it to recharge.
Use the gateway to get to the next screen, where you'll have to face off with the Moon Bear King's overgrown Guillotine. Before doing anything, use Ying Yang to steal the WYNKEN HEAD from the red-headed puppet. Reflect the projectile with the Knight's shield back at the eye of the Guillotine to damage it. After hitting it twice, it will throw out some saw blades at you before firing another projectile. Defeating the Guillotine will net you the GUILLOTINE HEAD.
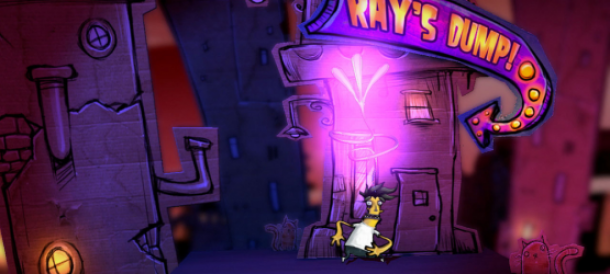
The next screen has you fighting the Moon Bear King's security system, which is just more reflecting projectiles, although you need to hit the outer spots first before you get a chance at the main one at the top. Note that after disabling the system, you can use the Lock Head's action to gain access to the bonus stage for this level (where you can use the Tiger Head's action inside of the bonus stage).
Wait until General Tiger sics some Grubs on you, then defeat them and block the Tiger's attack with the shield. This will trigger a short QTE that will send you to the next screen. The screen rotates, so head to the right to find a beam-shooting plant. Reflect the projectile to defeat it, then use the leaves to reach the second level.
Go to the left, avoiding the spotlights (they summon saws if they catch you), then do the same thing with the second plant. On the third level, the spotlight area has the head action for the Guillotine Head, then go right to defeat a third plant so you can reach the cage with the Sun Princess. However, it takes off before you can rescue her, so go up, noting that some the platforms will fall after standing on them.
You'll eventually reach the cage, which is guarded by two plants that shoot beams. Note that using the Crown Head here, should you have it, will net you the PIKARINA HEAD. It might be a bit tricky with two plants, but reflect the beams back when you see an opportunity. With both plants gone, you can finally reach the cage and set the princess free, who is named Pikarina.
BOSS: General Tiger
The fight with General Tiger will utilize the Knight's shield to its fullest. Before you fight him, use Ying Yang on his nose three times to get the TIGER HEAD. Tiger will open the battle by conducting lightning with his one paw and then smashing it on the ground, sending out an electric shockwave. This can be jumped over, but as soon as he does the previous move, he will swipe across the screen with his other paw.
The idea is to jump over the electricity then land and put up the Knight's shield to stop Tiger's paw from hitting you. After successfully stopping the swipe once, he'll bite the ground in two random spots and then go back to the above attacks. Successfully stop it one more time and you'll initiate a QTE sequence that will remove the non-Moonstone tooth. Fail the QTE and Tiger will spit out spiked hairballs from his mouth and then go back to the above attacks.
The second phase of the battle has Tiger using his tail, which has a spiked ball at the end. This attack is the same as his pound move, complete with the electricity, but it can hit the ground anywhere. He'll pound the ground twice, then swipe with his paw from the right side of the screen, so make sure you get that shield up.
Do the above sequence again to start another QTE with this paw, which will end with the Moonstone tooth being cut off. This will place Tiger in a dazed state, where you will be able to set off another QTE chain that will result in his defeat. You've finished the first act and can now move onto the second.