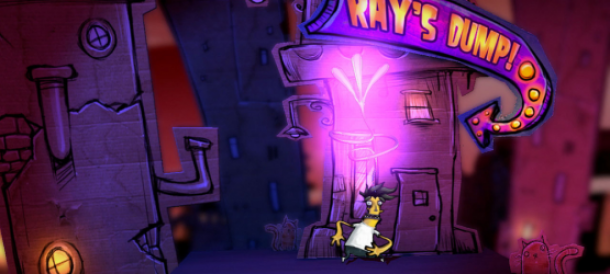
This is the obligatory snow level for this platformer. Go right and watch out for the icicles when you slide down the icy ramp. Right before crossing the bridge, you can see a female Yeti behind the tree, so use R2 on it (#1) and cross the bridge. The second Yeti is right behind the tree after the bridge (# 2), then go right more, bombing the icy paths on the isolated platforms.
The bellies of the sleeping Yeti can be used to bounce up to the next area, where you find a spot you can body slam, letting you use the falling snow off the tree to get up to the next ledge. Watch out for the Grubs on the icy spots, then pound the ground to get more falling snow. Right before the portal, you'll find the last female Yeti behind the tree and if you used R2 on her all three times, you get the YETI HEAD.
Use the hooks on the trees in the next area to get snow to fall, allowing you to cross the gaps. Use bombs to clear the tunnel, being mindful of the small gap with the spikes. Jump onto the sky lifts and beyond, with the weather turning into a blizzard. Watch out for the falling snowballs in the next area, but be extra mindful of the snowman's head. Use R2 on it to get the SNOWMAN HEAD, then press on to get to the cabin, where you'll find the portal.
Pound the ground at the Wrestler mark and use the Yeti and snow to get to the ledge above. You'll find the icon for the Yeti Head action here, which will bring you to the bonus stage. Use the platforms sliding down to get up the hill, where you'll find a large monkey with cymbals after. If you use the Snowman Head action here, a large snowman will come and crush the monkey and you can hit it with R2 to get the CHRISTMAS TREE HEAD. In fact, the Christmas Tree Head action can be used right after the two Grubs.
Inside the mountain, use the icicles to get past the spikes and drop down where you see the bomb symbol. Blow up that block, then drop down and do the little race thing down the slippery slope. At the bottom, there's a ledge above the polar bears that you can get to, so do that and you'll see a penguin on your right. Hit him with R2 to get the PENGUIN HEAD, then go down the next slope. Jump over the penguin that comes from behind, then off the ramp and onto the seam cut section.
Go from seam cut to seam cut until you get to the bottom of the ramp, where you'll find some polar bears hanging out. There's yet another slide and more penguins coming from behind, and you'll end up in a volcanic crater. Watch out for the fireballs from below (it flashes for a second where they fly up) and make your way to the next slide segment.
Jump when Pikarina tells you to, then keep sliding, jumping over gaps in your way. When you reach a flat surface, lava will start coming down from behind, so quickly bomb the rocks in your way and back to more sliding, jumping over any ledges that get in your way. The final slide sequence has the bird skeleton thing spitting fireballs at you, so jump over them and you'll eventually reach the very bottom.
Take out all of the Grubs in the area and go left until you see a rock with a UFO symbol on it. Hit it with R2 to get the UFO HEAD, then head back and hit the Wrestler switch. Follow Monkey as he rockets into space and you'll reach another on-rails segment, where you get to choose your own method of transportation (no difference between any of them). You can use the Penguin Head here to get the bony one from inside the volcano.
The obstacles in this segment include spiked balls, bombs thrown by General Monkey, and Martians, who will fly into the air when you get close, so don't jump near them. There will be instances where you go upside down, but nothing really changes. There's also a warp zone, where you go faster, but as before, nothing changes. You'll eventually reach the boss fight with Monkey.
BOSS: General Monkey
This isn't the normal boss fight, as Monkey will be on a rocket and you on a UFO-shaped rock. He will send missiles at you, which either need jumped over or crouched under as they pass. Once he finishes, a seam cut sequence will appear, but you need to be quick on these, as he sends homing missiles on the same path. After clearing the sequence, Monkey will take damage and you need to do it again. Note that he loses his helmet after the second set, so hit him with Pikarina on his head to get the MONKEY HEAD. There is no QTE sequence to end the fight.


