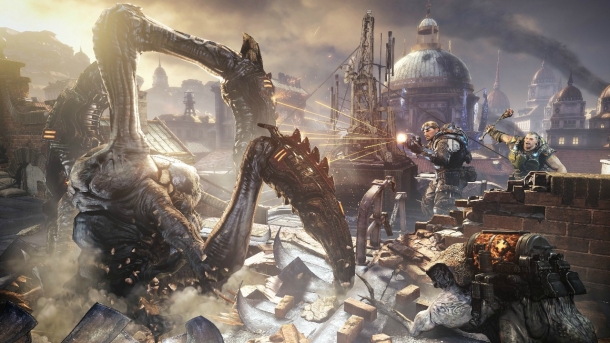
As you enter the room, you will see a giant worm made out of rock. It is impossible to kill, but you can use it to take cover behind. They are attracted by the glowing red fruit you often see hanging from the roofs and we will be using them quite a bit from now on until the end of Act 2.
Shoot the glowing fruit above the small tunnel in front of you to move the rock worm. Take the ramp next to the pillar nearby down to a new area, to the left here is another grind lift in a room with some ammo and a collectible (1/2) behind a vine wall. Return to the main room and continue through it. About halfway down, a rock worm will appear. Shoot the fruit from the ceiling a little further down the passage way to move through and continue on to yet another grind lift sitting in front of a pillar.
Here you will split up with Dom and either head down the bottom or take the high road, no matter which way you go, you will have to do exactly the same thing - eliminate the locust checkpoint here. As you get closer to the room, a rock worm will appear; you can then run up and use it as cover whilst attacking the checkpoint to make it much easier to take out. When the objective is completed, head up the ladder behind the sandbags.
When you reach the top, turn right, a few tickers will come to get you so sort them out and the blockage here should collapse. Continue down the runnel here killing any tickers you see on the way and enter into a larger room. Anya will contact you here and then an emergence hole will show up. Run up and take cover behind the rock worm, kill the locust and seal the hole. When this is done, continue past the hole into a tunnel.
Follow the passage around to the right and Dom will warn about snipers. Run up to the grind lift behind the sandbags and pick up a sniper rifle. Use it to eliminate the sniper on the bridge and the locust troika gunner and snipers on the small outcrop to the right of the bridge - use this only for sniping practice though as there seem to be an unlimited number of enemies here. Venture down the path, hugging the wall. As you do a rock worm will appear and walk down the path to grab some fruit. Get in cover behind it and walk with it. As you do, shoot the glowing yellow barrels on the platform with the snipers to the right. They should disappear and some reavers will fly out of the tunnel at the back of the platform. Ignore them and run to the end of the bridge.
At this point you can take either the left or right fork. It doesn’t matter which way you take, they both empty out onto the same platform at the very top of a tall rock structure. The different routes will exit on different sides of the area, making it easier to flank and kill the enemies here. Be careful here and stay in cover as there are a couple of troikas here which can chew through your health in no time at all. After you have eliminated the lot of them a reaver will land and try to give you some grief, take it out to continue.
Quickly pick up some ammo and then take cover in front of the very unnatural looking stone door. After a few moments the door will open and several wretches, a few tickers and a couple of boomers will head out to greet you. Eliminate all of them and then look behind the troikas for a cart, behind it you will find collectible (2/2). Head through the door, follow the path to the end and down the ramp to the right. When you reach the bottom you will see some locust raining mortars and troika fire down on another grind lift squad below. Kill the baddies here and then assist the squad in defeating the waves of enemies that come from the right side of the platform they are on.
Defeat all the enemies to complete the objective. Continue up the path and vault the wall in the middle and end the chapter.