From the start, head forward down the path in front of you, after a little team talk, you will see a helicopter crash down nearby. Keep following the set path and soon you will see your first blood mount. It should run away before you get in range. Keep moving into the next area with lots of burnt out cars. As you approach a stranded man will run past you telling you to run.
If you run past him you will meet some resistance, several drones and the blood mount we saw earlier will come and attack. To kill a blood mount, try and keep your distance, they are fast and will try to get close to you. If they do get close they can do a lot of damage. Kill either the rider or the mount, and the other will come at you. Kill both to make sure of the death. After you kill it and clear the remainder of the immediate area of locust, continue n pat the concrete road blocks. You will encounter another blood mount and a few more drones.
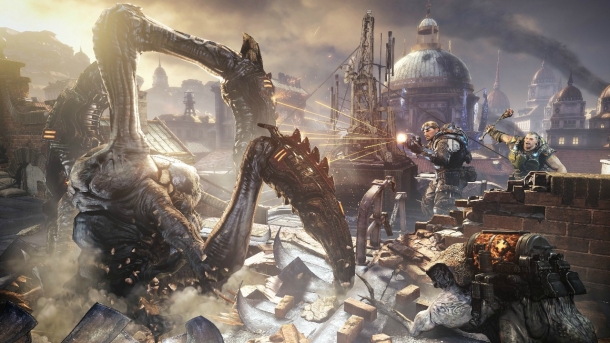
As you attack these enemies a reaver will also come in to land. Kill everything (the drones, reaver etc.) to proceed. When you reach the giant pit with the burning car inside it, turn right to see a collapsed building flanked by streets on either side. Go up the right street to pick up some ammo and a boltok pistol. Turn around and look between the flipped car and the concrete block close to the edge to find collectible (1/2). Head back to the building again and this time make your way down the left street.
As you do, stay in cover as much as possible. On the ridge up ahead is a pair of snipers. Kill them and you will receive an assistance call over your radio. Continue on the path and you will reach a balcony area overlooking a courtyard opposite the burnt out skeleton of a building. As you enter the balcony, a large wooden walkway will descend from behind the building and a group of drones will run down it and attack you from the building.
As you engage in gunplay with these guys, a reaver will swoop down nearby and attack you. Ignore the drones for now and get rid of the reaver, trying your best to stay in cover of course. Finish off the drones and part of the building will collapse. Move down the ramp at the end of the balcony area and cruise through the remnants of the building to the left of the pit. On exiting the building, take a sexy right turn down the street and head into the door to your left just in front of the van.
After a quick scene showing us a bit of situational awareness, you will be ambushed. When you regain control move as quickly as possible into cover. All the enemies will be on the second floor of the building. Fend them off and after a minute or so you’ll get a re-enforcement to help you out. After the cut-scene, watch where Dom goes. Instead of heading straight to him, walk over to the part of the room next to him, but on the other side of the wall from him on the left. Examine the body here for collectible (2/2). Head back to Dom to continue with the mission.
Follow the path around the building and exit the gate into a graveyard area. Moving about halfway up the hill in this area will invite a reaver to come and attack you. Teach him not to diss your flavor and continue on to the bridge at the top of the hill. As you approach it drones will start running across towards you. Kill them as fast as you can because if you take too long, a few tickers will come over the bridge too to bother you while you’re fighting the drones. Once everything lies in pieces, continue across the bridge to complete the chapter.


