Mountain Village
Reach the Smoke Beacon
Take a moment to access the Village Overlook Base Camp and talk to Roth until you can't anymore. Head down the path and create a zipline and take cover as three men exit the nearby building. Wait for them all to settle and then take them out quietly. Grab the Salvage from the crate by the house steps and then head inside for more Salvage and the Medicinal Herb Vial relic.
Head up the steps, lighting the third Statue, and zipline down into the village. Check beneath the stairs for the GPS Cache 9 and then enter the building and jump across to another Statue. Notice the netting of salvage above you, well if you jump to the roof of the building and light the cauldron you can then rope dart the thing into the netting and gain the Salvage.
Take the stone pathway around the corner and create a zipline to the area above and follow the path . Take out both Solarii quietly and then head inside the small cave to light the Statue up. Return to the zipline and cross the gap to find a tomb.
We can now go back to the village and explore newly opened areas:
From the base camp by the plane crash, grab the Endurance Officers - Reyes: Dear Roth document and the Food Cache nearby. Now cross the river to the east and use the cauldron to light the netted Salvage. To reach the ledge above, head across the river and use the plane's cockpit to reach a crate with Salvage and the GPS Cache 10 in the bushes before using the wall to scramble up the next level for more Salvage in some netting and even more Salvage at the top.
Return to the plane, jump in the body for a Food Cache, and exit the other side for a metal container with 50 Salvage inside. Follow the crash path to another Food Cache and another container with 50 Salvage. Enter the building on your right for Salvage and then enter the adjacent building for a Food Cache and the Old Photograph relic. On the other side of the building is Salvage in a crate.
Head back and find the white washed wall behind the first building to reach a Statue and Salvage. Light the cauldon nearby and then rope dart the one farther away to pull it close and light it. You can now jump to the roof of the nearby building, grabbing the Eggs, and then rope dart the 2nd cauldron and get the Salvage in the netting. Now return the statue and head up the path for 2 crates with Salvage and the GPS Cache 11.
Return to the plane crash and enter the main part of the village and run past the lit statue to find a door that can be rope darted. Inside you will find Salvage and the Dried Gobo Root relic. Now make your way up to the two story building in the area above and find another roped door that blocks more Salvage. With the majority of that area covered, return to the starting area by climbing the zipline back.
| Hall of Ascension Head into the tomb, grabbing the Salvage near the skeleton with red candles, and continue until you enter the tomb. Continue until you cross the bridge and enter the building. The first thing you want to do is find both valves: one by the shutters the wind is blowing through and the other by the the entrance that controls a elevator. You need to shut the shutters quickly and then turn the valve to raise the platform and jump up to it. When the wind breaks through the shutters you will be moved to the far wall and you can wall scramble to a ledge. If you raise the platform too early, the platform will not move before the wind breaks through the shutters and fall to the ground. Continue to shimmy across and enter the treasure room to get 1250 XP, 250 Salvage, and the Mountain Village GPS Cache Map. |
Leave the cave and use the post to access the small island in the lower left and light the Statue. Using the new post, shoot to the roped banister off to the left and climb over to the Ancient Scrolls - Hoshi: Answering the Call document. Now shoot a rope dart to the roped tree across from the statue island to climb up and find the GPS Cache 12 on the ground. Turn right and return to the statue island, grabbing the Eggs and then use the log bridge to walk across and find the USMC Dogtags relic.
Using the nearby post, aim for the roped tree on the island across the way and grab the Salvage. Light the Statue on the other side and then use the nearby post, shooting the lower level tree across the way and zip over to some Eggs and climb up for the Ancient Scrolls - Ambassador: Dark Tidings document. Finally, shoot a rope dart to the island with the blue smoke.
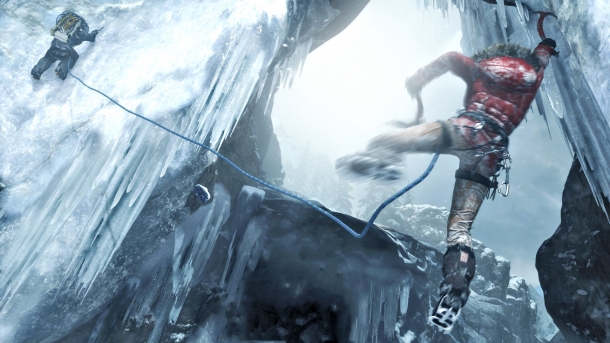
As Lara climbs across the rope, the post will begin to break. Keep moving forwards, but when Lara begins to fall quickly hit Square/X to catch the wall and climb up to gain 200 XP.
Mountain Pass
Locate the Second Pilot
Jessop is not at the smoke, so run along the path and into the pass to collect Salvage. Continue ahead for more Salvage and then enter the Arid Canyon Base Camp. There is a crate of Salvage near the camp and a Food Cache and more Salvage on the left path. Stick left and continue forward to a lit area with 2 crates of Salvage and then continue for a cutscene.


