Mountain Temple
Follow Dr. Whitman Up the Mountain
As the title suggests, follow Whitman up the mountain as they discuss the goddess. Eventually, you will run into a cutscene and Whitman and Lara will be captured.
Avoid Detection While Attempting to Escape
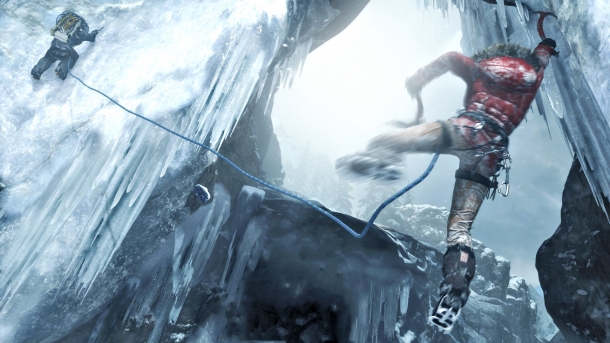
Thanks to some stupidity on the part of the natives, Lara is free to wander around while bond. You will need to use the environment to avoid detection. Since Lara will automatically take cover whenever enemies are around, you should have no problem avoiding detection behind any waist high object.
As soon as you have control, run up to the stone wall directly in front of you and wait for the first man to walk past. Quickly run up the hill and take cover on the left wall while you wait for the enemy to turn. Once it is clear, run across the area, ignoring the two men on the right, and hug the right wall to enter doorway. Wait behind the wall until a man passes and then run right up the stairs he just came down, but be careful at the top. Wait for the two men to turn and head right into a small building for a scene and be ready to press Triangle/Y twice. Once Lara has the gun, aim and shoot at the man before he wrestles you for the gun (wiggle the L Stick, tap Square/X repeatedly, and then fire with R1/RB).
Fight Back Against the Island's Inhabitants
With the Semi-Auto Pistol in hand, head down the right path and follow it until you get a quick scene. Now that you have ammo, and enemies, you can take on enemies. Note that headshots are not only worth more XP, but they are also one hit kills. Once both enemies are dead, loot the bodies and head for the door and pry it open.
Inside, press Triangle/Y to bush open the boards and escape the side of the building. Move forward, gathering ammo and Food Caches, and take cover behind the wagon when you reach it to learn about silent kills and take the far enemy out by zooming in on his head. Climb the wall and jump the gap to a ledge and shimmy across and climb up to the area above, taking cover behind the crates. Take out the man on the left first and then quickly target the other man. As a third comes crawling down the ladder, shoot him for an easy kill and gain 110 XP for completing this section.
Continue Up the Mountain to Regroup with Roth
Climb the ladder as you talk to Roth on the way up and when you reach the top jump over the little fence and grab the Salvage. Head to the waterfall off to the west and hop down and go into it to find the Mountain Temple Treasure Map and some salvage that you can't get at this time. Return to the side of the area where you got the salvage and wall scramble the white washed wood to get to the second floor and find the GPS Cache 1. On the other side of the building is the Mountain Temple Base Camp, where you can now use Fast Travel to go back to previous camps and get Lara's Journals - Nightmares.
Head toward the waterfall and into the nearby cave to find Salvage and Diaries of a Madman - Stranded. Now, head across the bridge and up the steps to find two enemies. You can choose how to take them out, but a useful strategy is to distract one by firing an arrow nearby and then shooting the other in the head.
With the area safe, head to the left side of the building, on the other side of the tree, and shoot down the Lantern to start the Challenge: Pyromaniac. Walking across the log to the backside of the building and wall scrambling up the wall will also reveal that the upper floor contains 50 Salvage. Head east across the grass and then cross the stairs going soth to find an area with a Food Cache and the GPS Cache 2 to the northeast. When you are ready, return to the top of the stairs and wall scramble up and over to enter the building via a small open area.
Looking right, shoot the Lantern to set the debris below on fire and sneak through when the fire has cleared. The enemy on the other side has it's back to you and is perfectly set up for a stealth kill. Simply walk up to the man and press Triangle/Y and then quickly tap Square/X to strange him silently. Look up to the right and spot another enemy patrol that is looking down at the nearby guy. When the upper guy turns away, headshot the guy near you and move forward.
Look across the gap and you should spot a Lantern across the way. Firing at it will draw the attention of the nearby enemies, but not firing on it and getting their attention will cause that whole area to go up in flame. I suggest shooting it and then quickly fighting though the enemies with the pistol, focusing on killing the one throwing Molotov Cocktails at your ass. When you reach the top, follow the path across a jump and zipline to thr ground.
Turn toward the water and notice the small ledge with a Food Cache that you should grab. On the opposite side of the path is the Confessions of a Solarii: Salvation document. Instead of heading through the arch, head the opposite way and hug the south wall to climb up some wooden planks. The nearby buildings upper level can be reached from here and it contains the Green Folded Fan relic (the fourth Lantern is also hanging from this buildings second level). Head out and continue south for a Food Cache and the final Lantern. On your way back to the main path you may spot the netting with Salvage that is easily gotten by lighting your torch at any of the lanterns in the area.
Back at the main area, take the souther stairs down and find the Gunbai War Fan relic. With everything gotten in the area, return to the arch and head to the end where you will need to climb a narrow crevice to meet up with Conrad Roth.