Go N from where you are dropped off. After a short scene, go east and jump on the I-block. The blocks here frequently move when the water effect makes it to the end of the block. Jump off the other end of the block. Go N again but return W this time. At the end, turn N and wait for the block to flip to face NW. Hop on and make your way over. Take the stairs to the platform with the Cactuar stone.
Turn E and cross that block. Loot the Orb for the map of the area. Head N from here and take the next set of stairs to the N. Wait for the block to turn NW. Cross over to it and go N, go down the stairs and turn S. Wait for the block to connect SE then get off and wait for it to change to NE. Approaching the Quest Marker will start a Boss Battle.
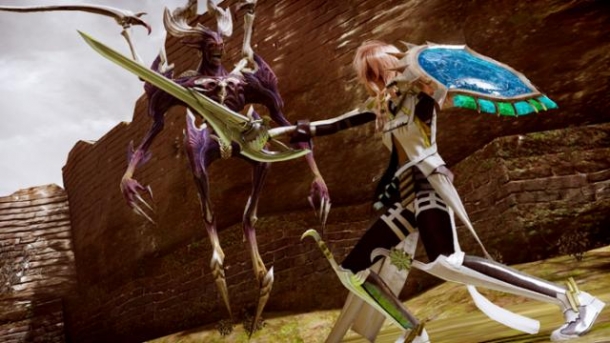
Pacos and Pacos
- Paradigms:
- Rav, Med, Com
- Sen, Sen, Sen
- Rav, Rav, Com
| 250400 HP | |||
|---|---|---|---|
| Element | Vulnerability | Status Immunity | Misc |
| Fire | weakness* | Pain | Chain Resist: 40 |
| Ice | weakness* | Fog | Stagger: 200% |
| Electric | Halved | Slow/Stop | Scarletite |
| Wind | Halved | Poison | Platinum Ingot |
| Physical | Normal | Imperil | Untamable |
| Magic | Normal | Curse | No Role |
*Both have the same stats except for their weaknesses. Amethyst is weak to fire and absorbs ice will Luvulite is the opposite.
That’s all you should really need to defeat these two. That battle isn’t overly complex but it is taxing. They both hit pretty hard but the real key is 1). You can try and play aggressive if your characters are strong enough but if not, you can likely make it through the fight by abusing Paradigm 1. Once you kill one of the two, deal as much damage to the other as you can because it has the ability to split and restore its partner. The up side is that it can only restore its partner to health equal to what it has meaning that you can slowly wear these two down, even if they keep restoring each other.
However, if you are going to go the slow and steady route, it’s very important that you get Wound Potions from Chocolina’s shop to counter the large amounts of wound damage they do. If you struggle with this, the coming fights will only get harder. Keep trying though.
Go S and jump on the block there then quickly use the block to the E to get to the SE platform. Cross that platform to the E block. There is a cactuar statue here. Move N and then NE from here. Use the stairs to the N and activate the cube to make it blue. There’s no path from here so return up the stairs to the S use the block there to get to the NW platform.
Head W and hit the Cactuar checkpoint. Change the cube back to red and take the block to the N. Wait until the block brings you around to the W platform. Activate the cube there so that it’s blue. Now get back on the T black and ride to the east. Wait for the stairs to turn to you and then climb further E. Cactuar Block that. Jump to the block N that isn’t rotating and then take it to the W where there’s a rotating T block. Jump on that, hope to the middle platform and then get on the next T block to the W. Wait for it to take you to the west, then follow the block down to the lower platform and hit the Cactuar block.
From here, if you have the gravity jump fragment skill, jump E to land on the stairs that don’t spin. Fall down to get back to the Cactuar statue. Turn the cube red again. Wait for the N block to turn to the left and follow it to the end. Look down and land on the small platform below. Collect the Treasure Cube and then fall off. When you get back up above again, wait for the block to the N to spin back to its original position. Now get on the block and follow it to the end and stand on the unmoving block next to it. Wait for the T- block to the E to come back around to you. Hop on and ride it to the N platform.
From here, take the stairs to the W, take the L block N to the next set of stairs. At the platform, take the stairs E to the top. At the top, hit the Cactuar Statue. The Red Statue will take you back to the beginning. Walk up the path to the N and enter the building.