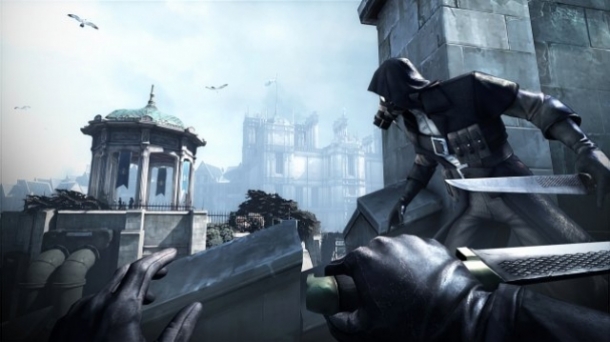
When Samuel drops you off, go forward and kill the guy with his back turned, not worrying about the guards dumping bodies on the bridge. Go up behind the citizen and slit her throat, then find the guard patrolling the area in front of the first Wall of Light and kill him next.
You should do the Granny Rags side missions, which gives you a lot more enemies to kill, so do them first and then come back to the main mission. You have a few ways to pass by the first Wall of Light, one of which includes taking out the whale oil tank powering it. There are also some boxes on the right side of the Wall of Light that you can use to climb over the roof. You can also use the alley across from Granny Rags' place to climb up and into the second area.
Whichever method you choose, the second area will have a few guards walking around. There's one walking on both sides of the area, so kill those two first and hide their bodies down the stairs on either side. There's one more guard talking to someone on the other side of the second Wall of Light, so when he walks away, take him out.
There are three ways to get past the second Wall of Light, one of which involves taking out the whale oil tank like with the first one; you have to be careful of the one guard that walks by the Wall of Light. You can also get over it, but you will need to use the topmost balcony on the side opposite Galvani's place, which you then Blink to the sign and can Blink to the roof that is over the Wall of Light. You can also get through using an alley where some Bottle Street Gang members are located.
HOLGAR SQUARE
In the area past the second Wall of Light, there are a few guards walking around the area, one of which will go inside the structure with the Rune. There's also another guard walking close to the door that leads into the next area. Once both of those are killed, use the door to go into Holgar Square. In this first area is an Overseer questioning Martin, who is chained up in the middle. Sneak up behind him and kill him, then let Martin loose.
Use the boxes and vents on the right side to get over the gate. There will be one guard patrolling, as well as two talking near the door on the other side. Once those two are finished talking, one will head inside the door, while the other will start walking around the area. It is best to kill the first guard walking around before the other two stop talking.
Kill the second guard that starts walking around, then peek through the keyhole and wait for an opportunity to take out the guard inside of the door. Go back to the area you were just in, get on top of the guard structure, then on the light and Blink onto the ledge surrounding the building.
OFFICE OF THE HIGH OVERSEER
This ledge makes it easy to get to the Meeting Room. Walk along the ledge, past the row of windows and go around the corner. You want to be at the front of the building, so go in the window on the right side and watch out for a guard. You can Blink onto some tops that run above, then drop down and kill the guard when you have a chance; do the same with the other guard nearby.
Once those two guards are taken care of, head inside the Meeting Room. If you want Curnow to live, go down to the table and switch the poison to Campbell's glass. If you don't care, put the poison in both glasses. If you've poisoned only Campbell, some guards will come in and try to kill Curnow, but he manages to get away and runs. If you've taken out a lot of guards on the way inside, he should make it safely away.
BACK YARD
With the High Overseer dead, go down once the coast is clear and grab the Black Book from his body. Go down the stairs nearby and exit to the Back Yard area. Once you're in the area, use the roofs to get to the back part, where you'll find a chain that leads down to Samuel, who will take you back and finish the mission.


