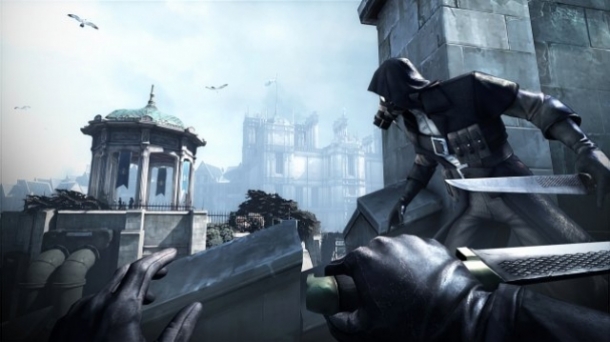
When you arrive at Dunwall Tower, you will first need to scale the water lock. As you're climbing up, you'll be crawling through a small space and you'll pass by some rotating gears, so make sure not to get crushed by them. The next part has a swarm of Rats on the other end, but go out the second opening and get on the platform there. Blink your way to the platform with the door, but don't go inside. Instead, with your back to the door, look up and to the left to spot a small opening, which is where you want to go.
Walk along the pipeline, towards the objective marker, but be careful of the Tallboy patrolling the area ahead. Once it starts walking away from you, follow it (not that closely) and hide on the right side of the bridge's underside. Go up the stairs, being mindful of the guard at the top, but stop before you go all the way up. You want to Blink up to the area above the stairs you just climbed.
There's another guard up in the area above, so wait until he starts climbing some stairs before going up yourself. Go down the right path, noting that there's a guard on the balcony above, but there's nothing on the ground. There's an opening on the left side, which you can use to get to the walkways where the guard from above is located. Choke him out, if you want, as well as the guard on the very top of the walkway, as he will be a slight hindrance later on.
Once the two guards from above are knocked out, Blink onto the ledge of the building above you. Start making your way around the ledge, and don't worry about any of the guards below, as they can't spot you up here. Keep going until you come to a vent that will lead you inside of Dunwall Tower.
DUNWALL TOWER
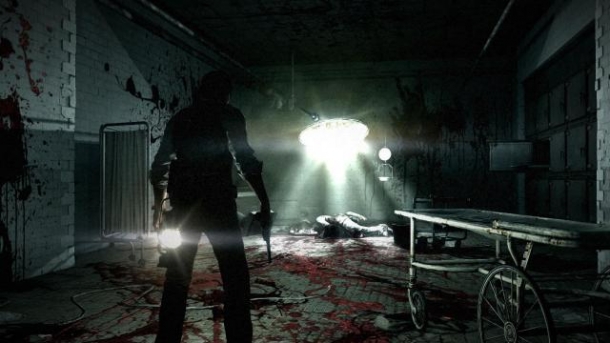
Go through the vents and you'll come out into the foyer. Look on the right side where you came out and Blink to the hanging light, then get close to the edge and Blink again to the hallway on the right side of the room. In order to take down the Lord Regent nonlethally, you must get to the Broadcast Room, which will trigger a side mission. You need to get an Audiograph from the Lord Regent's safe, bring it back and broadcast it, which will neutralize him.
Once you get onto the hallway from above, peek around the corner of the doorway to notice an Arc Pylon in the middle of the room. What you want to do is get inside the big staircase and use the beams on the corners to block the Arc Pylon's sight, while Blinking your way up the stairs. Once you get to the top, talk to the guy who will task you with getting the Audiograph from the Lord Regent's safe in his bedroom (combination is 935).
Start making your way back downstairs, once again using the beams as cover from the Arc Pylon, until you get to the same hallway from before. Blink onto the lights and then onto the balcony overlooking the foyer, which is the Lord Regent's bedroom. The safe is along the wall on the right, as soon as you enter, but the Lord Regent is in the room next door. Once he's finished talking, he will come into his bedroom, which leaves you with very little time.
Input the combination, take the items inside his safe (close it to be careful), then make your way out of the room and back onto the lights. Go back into the long staircase and make your way back to the Broadcast Room, again keeping mind of the Arc Pylon. Once you make it to the top, put the Audiograph into the machine and it will automatically play.
THE ESCAPE
After you play the Audiograph, the Lord Regent will now be neutralized and you can start heading towards Samuel to escape. The good thing about this is that the Arc Pylon in the stairwell is now deactivated, so you don't need to worry about that anymore. When you get to that one hallway from before, stop and wait until the coast is clear before getting back onto the lights and escaping the building from the vents you used previously.
Once you're outside, head back the way you came until you come upon the intersection where you went right into the area with no guards on the ground. Jump onto the wall overlooking the water (SAVE FIRST in case) and Blink as close as you can onto the rocks below, close enough to the wall. From here, you can swim back to Samuel's boat and finish the mission.