| Black Knight (Sword) | Black Knight (Greatsword) | ||||
| HP | Souls | Location | HP | Souls | Location |
| 497 | 800 | Undead Burg | 532 | 800 | Undead Parish |
| 745 | 1200 | Asylum (Revisited) | 887 | Tomb of Giants | |
| Kiln of the Flame | Kiln of the Flame | ||||
| Drops: | Black Knight Sword | Drops: | Black Knight Greatsword | ||
| Black Knight Shield | Black Knight Shield | ||||
| Titanite Chunk | Titanite Chunk | ||||
| Red Titanite Chunk (Asylum) | Red Titanite Chunk (Kiln) | ||||
| Black Knight (Spear) | Black Knight (Greataxe) | ||||
| HP | Souls | Location | HP | Souls | Location |
| 603 | 1800 | Darkroot Basin | 710 | 1200 | The Catacombs |
| Kiln of the Flame | Kiln of the Flame | ||||
| Drops: | Black Knight Halberd | Drops: | Black Knight Greataxe | ||
| Black Knight Shield | Black Knight Shield | ||||
| Blue Titanite Chunk | White Titanite Chunk | ||||
| White Titanite Chunk (Tomb) | |||||
Strategy
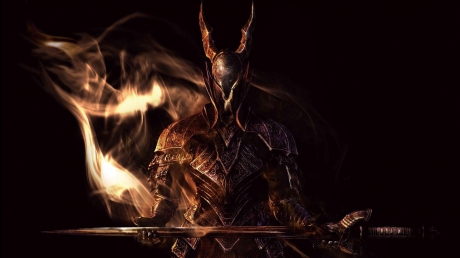
Sword
If you take on the Black Knight in Firelink Shrine the first time you encounter it you may find you have a lot of trouble. These have high HP, fast attacks that can break through your guard, and does devastating damage. He has two main attacks; a vertical swipe that if successful will turn into a combo of two more hits and a Running Stab used to close the difference. It is best to try and get around these enemies and backstab them. This is easiest done when it using a Running Stab.
Greatsword
Equipped with a greatsword, the Black Knight's attacks can easily go through your shield and attack you. As a result, evading their attacks is the key to staying alive. Luckily, the greatsword means that the Black Knight will have slow attacks. Unfortunately, the small area in which you first encounter this enemy makes it hard to roll around and avoid its attacks.
For spellcasters it should be easy enough to avoid the Black Knight's attacks and cast a spell while it recovers. Melee players on the other had will have to wait out the attacks and find openings to roll behind and backstab the knight.
Spear
This diverse target is not only fast, but has a variety of attacks and a large field of range in tight areas. His main attacks involve either a single of Double Thrust and when at a distance a Dashing Thrust. These are difficult to parry, but are easy to block. On the other hand, his Shield Bash is designed to break your stamina and should be avoided at all costs.
For melee combatants, fighting these enemies in the the narrow ledges of Darkroot Basin leaves little room to maneuver. It is best to lure him into an attack with a long recovery and then roll or dash behind him to perform a backstab, hoping the animation will kick him off the ledge. Spellcasters should have little to no problem once he has been baited into an attack.
Greataxe
While his isn't fast, his brute force can eat through your stamina and do massive damage. Parrying is possible, but a failed attempt can easily get you killed. Watch out for the knights Spinning Launch, which is a double attack and can break your guard and then hit you. Luckily, his attacks are slow and it is possibly to get behind him for a backstab rather easy, especially after a missed Power Uppercut. Melee players should be careful and wait for the right opportunity to attack.