| C | Item | D | Item |
| M-9 Tempest | SMG Magazine | ||
| Phaeston | Sniper Rifle Ammo | ||
| Hahne-Kedar Chestplate | SMG Ultralight | ||
| Shotgun Smart Choke | Sniper Rifle Barrel |
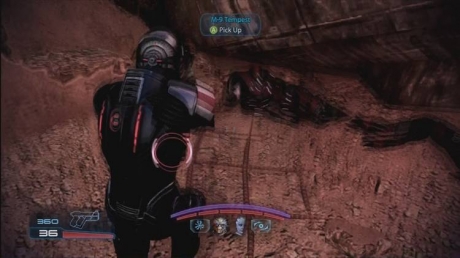
I recommend Garrus and Liara for this mission. Move forward a hair and before turning right, Check left for an SMG Magazine Upgrade mod. Now turn righ and go through a tunnel to find a Turian Escape pod and some bodies. Near the bodies is the M-9 Tempest.
Go left and mantle over the rubble. You'll come up behind some Cannibals. Through some biotics at them and they will fall apart quickly. Start working your way up to them. When they are dead, take cover and start working on the Harvester. Use heavy weapons and lots of Warp to take it down. Make sure you focus your squad on them. Play it safe and the Harvester should go down pretty easily. Once it's dead, approach the gap and head right.
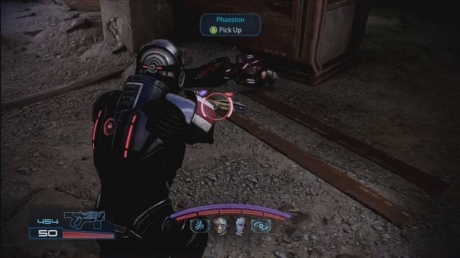
Climb the ladder and immediate turn left to find a Sniper Rifle Spare Ammo mod on the edge of the hole you just climbed out of. Drop off the edge. Up ahead just before turning right will be some Salvage. Turn right and near a dead Turian will be the Phaeston. Don't turn left there but go past the Turian and turn left into a dead end to find SMG Ultralight Materials. Now head back to the dead Turian and take that passage.
Follow it outside and you'll come to another battle where you've got the element of surprise. This time they will have Marauders with them though so try and take them out quickly. Use Overload on them and then get them off their feet. Once you've killed them and their Cannibal friends, a Harvester will appear. When it does, it will bring with it some Husks. Use Singularity to control the Husks and then kill them. As soon as they are done, turn to the Harvester and treat it like you did the previous Harvester. It's ok if you don't kill it this time.
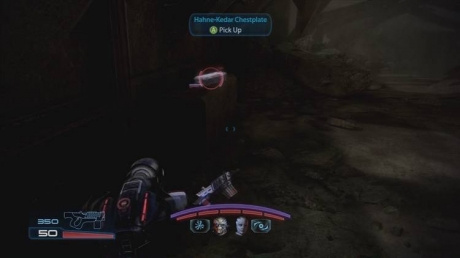
Turn right from the battlefield and enter a hallway. Drop off a ledge to a windowed area. Turn right when you land and on the left after the window will be a Hanhe-Kedar Chestplate.
Continue on and drop through another hole. On some rubble in a corner will be a Flight Recorder. Left from that will be the Shotgun Smart Choke. Move down a ramp of rubble and you'll have Husks come up at you. Kill them and then check the bodies of two Turians for some Junk. Go down the ladder here. Turn left and take cover. You'll have some Cannibals come at you and a Harvester in the distance but the Harvester will soon fly off.
Kill the Cannibals and move up. Watch out for some Marauders as you progress. Turn left and you'll have to cross a room with a bunch of broken pillars. As you slowly move up through the Marauders and Cannibals, watch for an opening to the left and watch for fire from the Harvester in the distance. Take that left. Eventually the Harvester will die of fly off. Either way, clean up any stragglers and continue to the bottom of the ramp. Turn right at the bottom and drop down. You'll find a Med Kit on your right. Drop down again and when you reach a spot where you can see Victus through the rubble, you should find the Sniper Rifle Extended Barrel mod at your feet. Continue the last bit of the way into a rather large room.
This is the final fight here. It's not an easy fight because enemies will continue to respawn no matter how many or what you kill. Start off by killing a Marauder if you can. Momentarily, a Brute will appear and join the fight. Focus all your attention on that Brute and try to take it down before it gets to you. If you are getting shot at and need more cover, back up a little into the previous hallway. Once the brute is dead, you'll have to make your way to the back left of this room and climb up the right side towards the Turian platoon. Try to leave a couple of enemies alive and use biotics to keep them from harming you. While they are in stasis or airborne, make a mad dash for the Turians. When you get there, more enemies will appear to fight you but once they are dead, you'll be finished with the mission.