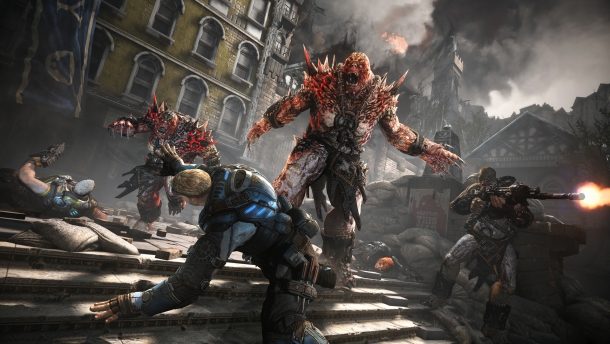
The fight starts immediately with three Cyclops attacking you from behind. Kill them and try to take one of their Lancers before heading up the stairs. At the top of the stairs, you'll see the declassify on the building to the right.
| Declassify |
| "Lt. Baird calimed that Kil Squad was able to overcome severe operational disadvantages in aftermath of Museum destruction." Greatly reduced visibility. |
| The reduced visibility is generally not a problem but this fight will be long and you'll be dealing with being flanked constantly. This is the real problem with the visibility hit is that you can't see them coming from the sides. For this reason, you want to try to fight from inside the building as much as possible. |
Inside the building are a few turrets. Set up the two Gnasher Turrets by either door and then place the ranged turret in the middle of the room facing through the left door (as you look out the windows). If you need more ammo, there's an infinite supply inside the building along with Retro Lancers. If you have the regular Lancer (Mk. II) then use that for most of the fight and save the Retro for when things get up close.
This fight is brutal and you'll likely die a lot so don't be discouraged. Your enemies will constantly be pushing you back onto your heels so you'll have to keep your head on a swivel to survive. This first wave will include Boomers, Shriekers, and Grubs to start and Kantus, Tickers and Wretches down the road. When enemies drop power weapons, don't hesitate to swap out your Retro Lancer for it. You can use it and then pick your Retro Lancer back up. If it disappears then there are two more in the building you can use.
Unfortunately, there's not much advice to give except to remember to fall back if you start to get overrun. The building is generally pretty safe and it will keep enemies close in so you can make the most of your close ranged weapon.
After the first wave, you'll have 30 seconds to resupply. If you want to get the COG Tags then you have to do it now (the door wasn't open earlier). Head down the stairs that you originally came up at the start of the chapter and then turn right. You should see a building. In the farthest corner should be a newly opened door. Go through the door, down the hall and turn left into the next room. The [COG Tags] should be on the floor next to a large hole.
Head back and restock. This next wave will be tougher than the last and involves all the heavy hitters including the most aggressive wave of Bloodmounts you ever did see. You'll probably get a dozen or so in a row, one after another (or more likely 2-3 at a time). Make sure you hit your Active Reloads because that might be the only thing between success and death. If you DO die here then at least you can be reassured that you will only have to go back to the beginning of this wave, not the very beginning of the chapter.


