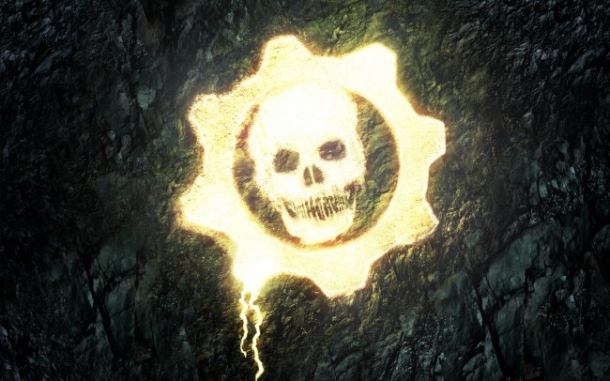
You actually have a little bit of a jaunt ahead of you before anything happens. Just before the vehicles ahead, check to the left for a chained gate. Cut it open and follow this path down into the ravine. Down below, you'll find the secret entrance to Elliott's mansion. This entrance will take you to an elevator and up to Elliott's safe room. Inside this room, on the far wall will be the Crimson Omen.
| Declassify |
| "Kilo Squad claimed to have overcome powerful Locust siege using only scavenged flame weapons." Locust use One-Shots |
| A few Locust will make use of One-Shot weapons and this can be a problem if you don't stick to cover. However, they don't have much of a height advantage so if you stay in cover, you should be fine and you may even be able to remove them quickly enough that it's not a problem. |
Eventually the bot will blow the system and when the doors open, head down the stairs. In the next room, there will be ammo and weapons of various kinds. Grab some before the Lambent Wretches appear. Kill them and exit the area. Take the nearby Gnasher Turret below and set it up just to the right of the right set of stairs. This will keep enemies off of you from this angle.
More enemies will start to attack including Boomers and the One-Shot Grubs. When you have a moment, go up through the right side room. Watch the stairs to the left because enemies might come up but at the end, go up the stairs to find the two One-Shots. Kill them both and then keep going past them. Stick to the railing on the left and you should find the [COG Tags].
Shortly, you should have the area cleared and about 90 seconds to set up defenses. Double check your turret and refresh your ammo supplies. Stick some frag grenades wherever you can think to put them (the railings of the stairs make for good spots). Make sure to save a couple of grenades for yourself however.
After the timer runs out, you'll be attacked by a group of Tickers who primarily set up cover for the One-Shots. If you have a long range weapon handy (even the Torque Bow from earlier), then take out the One-Shots as soon as you can. If not, wait for an opening and flank them like you did last time.
Before long, you'll have enemies pouring in from outside including a range of Boomers, Grubs and even Ragers. Keep your eyes peeled and pick your weapon carefully because you want to have some powerful ammo for some of the bigger enemies. If you have a Torque Bow still then make use of it against the Ragers (who will be Gibbed by it and can't Rage). Most importantly, watch around the structure in the middle. You'll frequently see enemies bunch up as they make their way around it. When this happens, you have an opportune moment for a Frag Grenade.
With round 2 down, a door will open near your position with a respawning ammo box so stock up and return here when you run out of ammo. Grab a Mulcher or similar if you can and swap any empty weapons that you can't refill.
The next wave will begin similarly to the last one except that the One-Shots will be covered by much more powerful enemies. You'll have to deal with almost every major enemy type. Serapedes, all types of Boomers, and high ranking Grubs will all appear in this first push. Handle the One-Shots the same way as last time if you can because you don't want to deal with them while you are working on some of the enemies that make you move around.
When you've dealt with most of these enemies, two Berserkers will make an appearance. To kill them, you'll need to light them on fire to weaken their armor and then lay into them. Grubs with Scorchers will continually appear so that you can refill your ammo and keep hitting the Berserkers. If any One-Shots are remaining, deal with the Scorcher Grubs first and then head for the One-Shots because you don't want them around when dealing with the Berserkers. The Berserkers (unlike the Grubs) won't bother the bot because they operate strictly on sound and will instead hear weapons fire and footsteps.
After this final wave is clear, the chapter is done!


