This chapter begins with the Locust Patrol coming through the barrier and starting your ambush. There is no Glowing Omen before this fight and preparation was done at the end of last chapter.
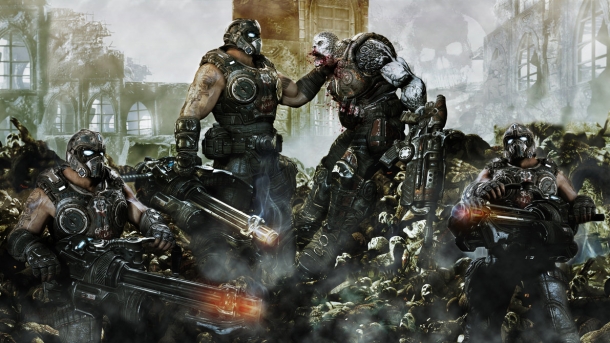
The enemies will start pouring through and you should see a Tripwire Crossbow by your feet. Try to set up additional tripwires or use it to take down some of the larger enemies (Boomers for instance). You're going to have to deal with Boomers, Kantus, Grubs and Wretches during this fight. If you set up a tripwire at the bottom of the stairs, you should be pretty safe until the Wretches show up. The Wretches will climb over the wall rather than taking the stairs.
Keep your high ground and keep shooing into the mass of enemies below. This is also a great time to get a couple of Cluster Lucks with your frag grenades. Keep your lancer handy for when the Wretches show up . After you've cleared the street below (you may want to wait a moment to be sure), head down into the street. Make your way past where the patrol came. Up ahead and to the left will be a largely ruined building. Follow the edge of the map on the left side through the rubble and you'll find the [COG Tags] in a pile of blood in a corner.
Continue your climb and you'll approach a door. Just before the door on the left will be your Glowing Omen.
| Declassify |
| "Kilo Squad claimed to have fought additional units of exceptional ferocity." Heavy Locust and Rager Offensive |
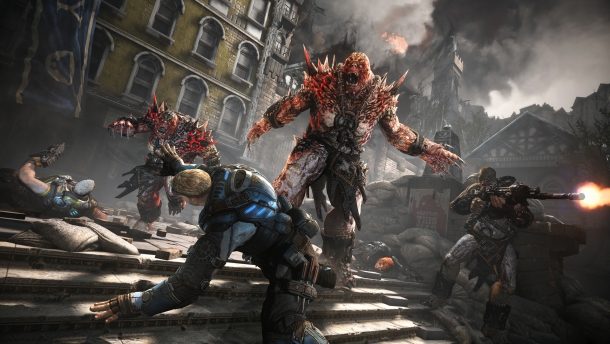
| You may think you're ready for this but you're not… You'll be hammered by a constant stream of berzerking Ragers and Maulers. You'll spend a lot of time moving and shooting to survive this. Despite the aggressiveness and even how many times you go down, it's still quite possible to survive your first try if you keep your head on. |
Turn the corner to the left and you'll find a turret. Set it up on the right side next to the sandbags so that it looks down the hill. There should be a Markza nearby that can be used to get headshots on the Ragers if you don't have a precision weapon already. Stock up on Ammo and then find the One-Shot on the other side leaning against the wall. When you approach the door and set the bot on it, you'll be attacked.
Before long, you'll hear the sound of Raging Ragers and it will not end. They'll just keep coming with as many as 4-5 at a time. And if it slows down, that probably means that a wave of Maulers is coming but it will be followed up with more Ragers. Each enemy is capable of putting you down in a single hit but the major concern here is that a Rager will rush you and put you down while a Mauler is winding up to hit you. If this happens, you could be down and dead in less than a second.
Just keep shooting and use the One-Shot on the Maulers if you can. Try to stay near your squad as best you can so you can be revived quickly.
When they finally stop coming (probably 30 or so enemies) then proceed to the door to end the chapter.