When you land, follow the only path available and ahead, you'll see the Glowing Omen on the right side.
| Declassify |
| "Kilo Squad's Testimony on enemy behavior contradicts COG estimates concerning the Locust ability to flank, think strategically." Extra Locust will attack from behind. |
| This will cause an enemy or two to pop up behind you as you go but it shouldn't be anything too serious, especially if you keep a good pace. If you're fast enough then you may not have to deal with any enemies behind you until you clear out the last group of enemies. At that point, you'll be attacked from "behind" but since you're at the end, you can merely turn around and face them. |
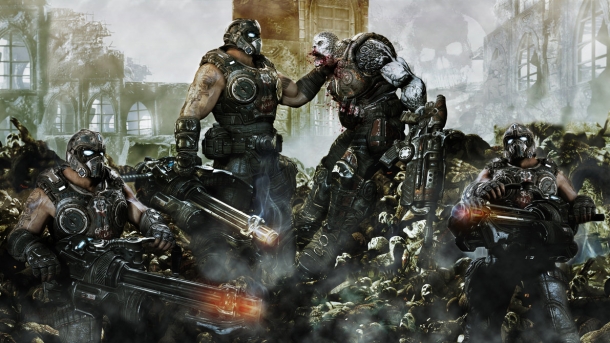
Walk up past the omen and get rid of the spike barrier ahead. Go up the street and Grubs and Wretches will come out of the ground. The types will vary from normal grubs up to Scorchers. You should be able to make short work of them and after you do, you'll get a quick cutscene. Turn right and make your way past the barriers. Chainsaw through the wood barrier and then climb over the stone barrier at the end.
After you climb the stone barrier, you'll be told that there are mortars in the area and that you'll need to clear them out. A group of Wretches will attack you while you deal with this first mortar Grub. Cut through these with your chainsaw for the most part and then start making your way up through the barriers. More Grubs and Wretches will appear ahead. Some will erupt out of the ground while others will come out of an E-Hole. Plug the E-Hole and you should be able to cut through the few stragglers.
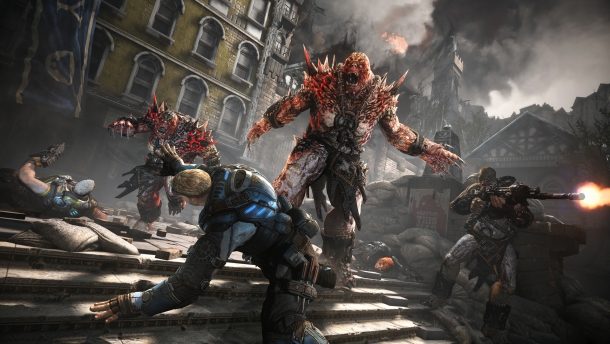
When you've dealt with the enemies here, the barrier up ahead will buckle before being broken down and a couple of Bloodmounts will appear possibly along with smaller enemies. The best thing to do is to unload with your Lancer while backing up. Bloodmounts have devastating close range attacks that can down you with a single hit. The Beast Riders on top can do some decent damage but it's much preferable to be shot by him than to be hit by the Bloodmount itself. Try to keep your distance and let your squad draw their attention while you shoot them from a distance.
Climb over the barrier and then head left. You want to try to find a ranged weapon if you don't already have one and immediately use it to take out the mortar on the structure ahead. Try to do this quickly before being overrun by Wretches. Trying to juggle both of these, especially on higher difficulties can be a real pain (though not impossible). If you get rid of the Mortar then the wretches are a simple chainsaw solution away. IF you can't find a long ranged weapon, then start cutting through the Wretches but do so moving in the direction of the structure. You want to get to that structure, climb up and deal with the mortar as quickly as possible.
Eventually more Bloodmounts will show up so you want to try and get these two steps done as quickly as possible. If you can't then one of these three elements will take you down while you're trying to deal with the others. If you're still up on the top level when the rear guard shows up then you can use the Mortar from up here to close the E-Hole and kill the Grubs and Bloodmounts that appear.
Before leaving this area, find the blue shipping container that was originally on your left as you entered the area. Go to the side closer to the structure and you should be able to find [COG Tags] on the ground. Head for the waypoint and finish the chapter.