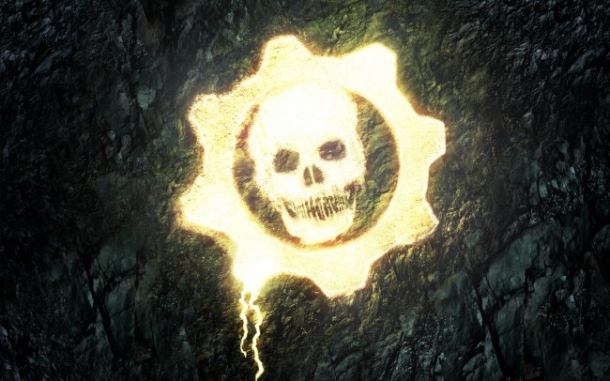
First, turn around and climb the stairs. At the top, move to the right to find the [COG Tags] for this mission. When you come down the stairs, you should see the Glowing Omen on the pillar to the right.
| Declassify |
| "Kilo Squad claimed it fought off unusual, tougher Locust at Raven crash site." Serapedes and Corpsers added to the attack. |
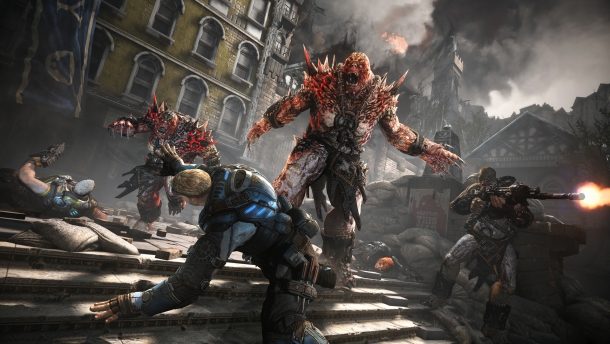
| This is one of the most brutal Declassifications. This will add a couple of Serapedes (likely only two) as well as several Corpsers (six to eight). Most of these will appear in the first wave rather than the second but they doesn't mean they'll stay exclusive to the first wave. Dealing with the Serapedes and Corpsers can be made easier by clever turret placement. |
Getting even close to three stars on this requires that you take the Declassify because otherwise you won't have enough big enemies to get the stars (even with the multiplier). Go over to the goodies from the crash and you'll find several good bits including turrets, grenades, a Mulcher, a Lancer and an Onyx Ammo box. Just to the left of where the Glowing Omen was should be a Gnasher. Grab the Lancer and Gnasher before stocking up on grenades.
For now, drop your Tripwire Bow and pick up the turrets. Take the Gnasher turret to the left towards the stairs leading down. Before the first set leading down, go to the right and tuck the Gnasher Turret in the corner here so that it faces 90 degrees across the top of the steps. Place the Ranged turret on the far set of steps either on the first set of stairs leading to the corner or at the corner.
Hold on to your grenades and leave the Tripwire Bow for now. Take cover behind the column where the Glowing Omen was. From here, you can watch the enemies as the climb the stairs. The first wave is likely to be tickers and it could be quite a few of them (a dozen or more). They'll more than likely destroy the first razor wire barricade before coming up to the laser wire. Try to go up a little ways and kick them away before destroying them because this will save your turret some damage from when it kills them.
The next enemy that appears will be a Serapede and usually the second one will follow close behind the first. Most of the time, they'll gravitate to your side but be sure to listen for them because every once in a while they will go for the otherside and your AI partners are not bright enough to prevent it from destroying all of your barricades. If it comes up your side then you should try to get behind it and take off a few tail sections (which will make it short enough for the turret to hit). Do the same with the next one.
At this point, you'll be attacked by a wide variety of enemies including Theron guards, Wretches, Boomers, and certainly the Corpser. Grab the Mulcher and set up on the corner. Wait for them to come up the stairs and your Gnasher Turret will shoot them from behind. When it does, it will stun them and the Corpser will lift up their front legs providing you with a good shot. Try to kill it before it can recover and go underground. If it gets underground, drop the Mulcher and start trying to avoid where the Corpser is digging. It can easily pop on claw out and kill you in two quick hits.
Keep your eyes on the Corpsers and look for openings. They frequently come up the stairs in pairs. If they do, hit them with a couple of quick grenades to take both out quickly. In fact, don't be shy about using all of your grenades on the Corpsers (there should have been six scattered in the area at the beginning). These Corpsers will be the toughest thing you face for the rest of the fight and they are deserving of the entire Mulcher and all of your grenades.
With the Corpsers down, you may have a few stragglers but the wave should end. You'll have 30 seconds to refresh and reload. Make sure you've reloaded your turrets since you likely haven't reloaded them since the Corpsers appeared and then grab the Onyx Ammo box. This will refill any weapons and give you at least one grenade for emergencies. When you've stocked up, grab the Tripwire Bow and start planting the Tripwires. This operates similarly to the torque bow so hold it down a moment before releasing. You'll see a projection of light coming off where the dart will land and this indicates where the Tripwire will go. Set up a couple on each side and then get back into your position.
This last wave is not nearly as bad as the first one but that doesn't mean it isn't tough. You'll be attacked by many Boomers (all varieties but primarily Maulers), Wretches, Kantus, and Theron. If you need to back up to the top level, feel free because this will give a much better view and you'll be able to attack Maulers from the side almost the entire way up. Watch where the Theron fall and you should be able to pick up a Torque Bow or two which will be pretty useful on these tougher enemies.
Unload everything you've got and don't be shy about losing a couple of rounds on Mauler shields because this is the last Chapter of the Act.


