It's time to get to Sanctuary. There's a resistance that needs our help. You can start this mission any time after, "Cleaning Up the Berg" but there are several Side Missions that you can do first, and I recommend doing them for extra loot and experience.
| Normal | True Vault Hunter | |
|---|---|---|
| Level: | 5 | 35 |
| Money: | 15 | 475 |
| XP: | 724 | 4,562 |
| Gear: | - | - |
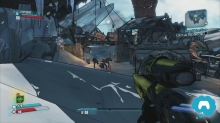
To start this mission, find Claptrap and talk to him. He will lead you out of town and to the right along the Bay. There are going to be a decent number of Bandits in the town. Most of them will be Marauders or Killer Marauders. You'll also encounter some Psycho type bandits. These enemies will rush at you with melee weapons or throw them if you get too far away. Work your way up through Gateway Harbor and you'll see a much larger section of the town ahead.
 |  |
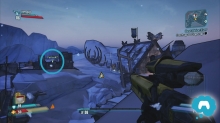
This section is much the same as the last but you have to be much more careful. You're going to encounter the same types of enemies but there are going to be a lot more of them and the town itself is more complex, allowing them to flank you more easily. You can go up the middle or if you can make it, go up the first building on the right side. This will give you a well protected flanking position to fight from.
 |  |
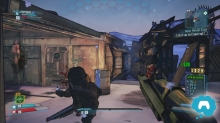
After you clear out this half of the town, you'll have to wait for claptrap to open the draw bridge. You want to stay on the right side of the town and keep the high ground. When claptrap opens the gate, an enemy or two are going to come over and you may encounter your first (and possibly second) Suicide Psycho. The Suicide Psycho is much like the regular Psycho except he always rushes at you and sets off a grenade. There is no instance where this will not happen. Make sure that when you kill one, you retreat because their grenade frequently tends to fall forward. If you are playing as Zero, it's also important to note that when you cloak, he will go after your double so if you stand too close, you'll still get caught in the blast. Once the bridge is down, go across.
 |  |
 |  |
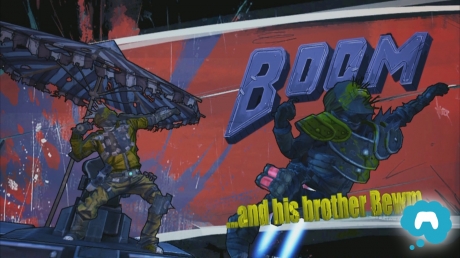
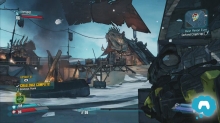
Bewn is the guy on the big turret and he will be shooting it at regular intervals. He's not particularly dangerous and you can safely avoid him by sneaking into a small corner to the right. There's a smoke stack coming out of the deck of the ship and the base connects to a divider so you have a good amount of protection. The trouble actually comes from Boom who throws grenades - LOTS of grenades.
From that safe spot, you should be able to safely take Bewm out. The biggest threat from him is that the explosion and smoke from the shots hitting your cover will cloud your view, making it difficult to hit him. Quickly take him down and then you won't have to deal with Bewm, Boom, and the Psychos that are coming. After he is down, Boom will get far more aggressive with his grenades and the Psychos will appear more frequently. You can still use your cover to attack Boom but make sure you watch your map because Psychos will only be able to come at you from behind and you won't see them otherwise.
 |  |
If you are playing co-op, you can either split up so that you force Bewm to hop around the map more or you can stick together so you can split attack and defense responsibilities. The latter would probably be best if you had diverse characters while splitting up would probably be useful if you had similar characters.
 |  |
Don't be shy about unloading lots of ammo on him. While you might want to go for the head because he's a hard target (with lots of armor), his armor is actually surprisingly light and it would probably easier if you just went for his chest. This is especially true when he starts hopping around the map.
After that, he'll have no additional tricks and you can search the area. When you have found everything you're looking for, Claptrap is going to direct you to use Big Bertha to shoot at the nearby gate. Hop into the gun and blow it open but be prepared because a couple dozen bandits will start coming through the gate. You can TRY to engage them on foot for the extra experience but I wouldn't recommend it since there are so many of them. Just stay in the gun and keep shooting.
 |  |
Catch Up to Claptrap
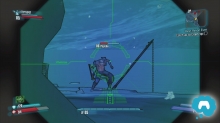
Go through the gate once it's cleared and now we have to rescue Claptrap. On the far side of the gate, you'll have a good vantage point of the area. There is a little hut out on the with a few Psychos in it. When you get closer, they'll come out and start fighting some Rakk. There's an achievement for killing a Rakk with a Tediore pistol, if you happen to have one. To do so, you'll have to reload the gun which causes you to throw it. It'll explode causing damage proportional to how much ammo was remaining.
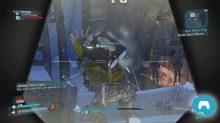
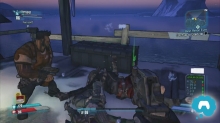
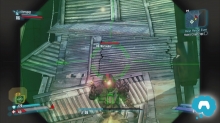
From here, move up the large rock to the left. From the top, you'll be able to see Flynt's Fort. When you get up there, a Midget and a Psycho will come through the main gate. A few more enemies will follow and there will be more above on either side of the gate. With the gate cleared, make your way inside and immediately find cover. There should be some shipping crates on the left side that will provide good cover. If you see enemies with shields here, you'll notice some Shock Barrels that can be used to strip the shields quickly. Most of the enemies will come into the middle of the circle and they'll be rather easy targets.
 |  |
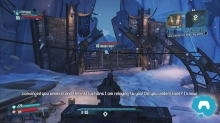
Move further up and on the left, you'll find a hut that will spawn enemies and near there will be some loot and chests. Clear that spawn point so you don't get ambushed. From here, go across to the right side and climb up the large frozen rock. If you are playing co-op, it's possible for another player to go up the left side and get a good perch up there too. From these two points, you can clear the small village below. There will be Psychos below so be careful to watch for them. Inspect for loot (including the toilets).
 |  |
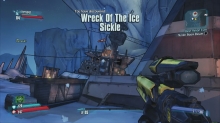
Leave the village and go through the small nearby tunnel. This will lead to a catwalk over the water and back to a small outpost. This section is going to be tougher than the last. There will be a handful of bandits, a shotgun midget, and a Badass Marauder who is very aggressive, has powerful weapons, and can take a lot of damage. Badass enemies are sort of mini-bosses. Take it slow and you should have no problem clearing out the smaller enemies from a distance before closing in for the Badass.
 |  |
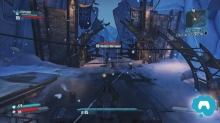
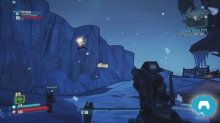
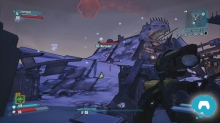
Beyond them is going to be a sort of junkyard. It may seem deserted at first but there are a lot of enemies scattered around. You'll see a bridge that spans the slope. On either side of this bridge may be a marauder. Up ahead, the slope will come to an opening. Each of the buildings at this opening can spawn enemies. Also be sure to watch up high on either side as enemies might drop out of high doorways. Be sure to watch the left side as there are flanking chances for the enemy here. Work your way up slowly and you shouldn't have much of a problem.
 |  |
Go out the back of the village and if you'll end up on a large set of rocks. Turn right and you'll see Claptrap being roughed up by three Psychos. You can get the drop on them so feel free to use a Grenade or snipe them to get a good start. Not long after, you'll enter another section of the village under an overhang. It opens to a large center section with a fire pit. It's definitely best to work your way around the outside if you can since you'll get superior protection. You'll encounter a standard variety of bandits here.
 |  |
When you've cleared the bandits, Claptrap will go and stand on an elevator. He'll send you to find the control mechanism for them so go up the stairs nearby and follow the path at the top as far as you can to the North. When you run into more Bandits, you'll know that you're going the right direction. Go up the stairs and then follow the path west to find a chest. From here, look south to see more enemies.
 |  |
Make your way to the South along this level and through the bandits. There may be a few Killer and Badass Marauders here so try to go slowly. When the path turns right again, you'll come into a room with two shipping containers. Hang back here because some Killer Marauders are going to come out of the crates to surprise you. Just outside of the room with the shipping crates will be a ramp that leads up and on this level will be a switch. Flip the switch to bring Claptrap up. Nearby will be more upward ramps so follow those. At the top will be some vending machines.
 |  |
While you're up here, be sure to sell anything you don't need and stock up on ammo.
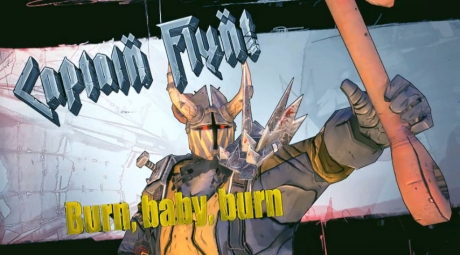
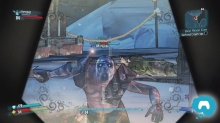
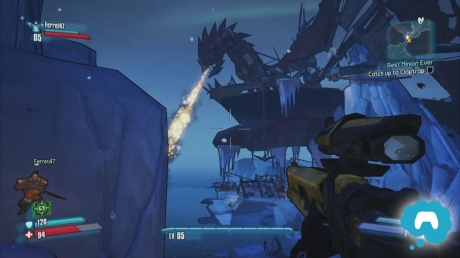
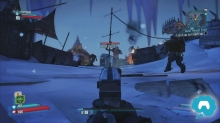
Captain Flynt is a rather tough guy so it's going to take a good amount of ammo to take him down. He'll start off the battle at the top of the ship. While he's up there, alternate between taking pot shots at him and keeping the Marauders on the lower level at bay. If you stick to the far left or right side, you'll be decently protected by Flynt's height advantage. After you deal some damage, watch out for his Grenades. He'll then jump down onto the ship to get closer.
At this point, you're going to encounter your first elemental enemies. There are some Psychos that will be on fire and deal fire damage to you. Flynt will also be carrying fire based weapons. If you get hit, you'll catch fire and receive damage slowly over time. They are all relateively close range so it's important that you keep a good distance on them. Also be very careful of the things that look like trap doors on the floor connected by large pipes because these can open up and spew fire at you.
Keep moving and perhaps switch to a rapid fire weapon with good mid-range accuracy. This will probably be your best bet by keeping you at a distance while dealing maximum damage. At this point, you'll likely also have access to your Action Skill so don't forget to use that as it'll likely make this fight significantly easier.
After you've taken Flynt out, search around for loot dropped by Flynt and his gang. You can enter the ship and search around a little for more loot. Once you're done, go out the back and onto the deck again. Check to the right for another chest and then board Claptrap's Ship when you're ready.