After Lord Harkon explains how the Vampire Lord system works, he'll send you to talk to one of his lackeys, Garan, about some work. To talk to him, you'll have to be in your normal form. Unfortunately, many normal functions can't be done as a Vampire Lord while some can. Usually things like opening doors work and even some pull chains. Levers and buttons rarely work though. Use your favorites menu to find "revert form" and change back.
After talking to Garan, you'll be sent to fill the Bloodstone Chalice. Garan will take you to it. Grab it and roll out. You are headed for the Rift, just NW of Riften. Travel to the nearest point and then make your way to the Redwater Den. There will be guards outside who will try to stop you if you are in Vampire Lord form though this form also helps you travel faster so the choice is yours.
Redwater Den
When you get inside, the doorway will be too small for you to fit through as the Vampire Lord so you'll have to revert back to your normal form. Go down the stairs, past the guard and talk to the dealer behind the cage. She'll offer you a sample and you can take it if you like but this is really unimportant. Walk to the back of the den and go through the gate at the end. You'll have to pick it.
Inside the next room, you'll be attacked by various vampires. Make sure you watch above as there will be some vampires above you too. Once the room is cleared, head to the back of the room and follow the tunnels up to the top level. Make your way through the tunnels and hit the lever to lower the bridge. Head back a little ways and then turn left to go across the newly lowered bridge.
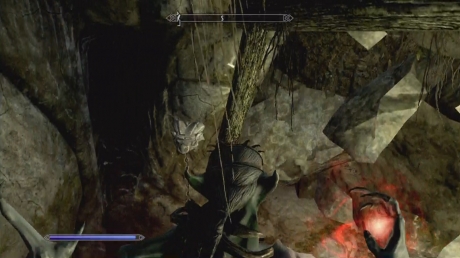
Make your way down into the lower caverns and you'll come across a Thrall with a pickaxe. Kill him and then further in, kill his Vampire. You'll also encounter a skeleton with the vampire. You'll continue further down and come to what looks like a dead end but you'll find a chain on the wall at the SE corner.
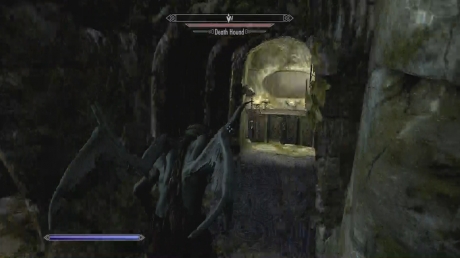
Go through the door and a vampire will come out of a coffin in front of you. Kill her and the Doom Hounds before going out of the back of the room and right. This will lead you up to a door that goes to Redwater Spring
Redwater Spring
Head forward towards the flag and take a right. You'll hear a couple of people talking and there will be a large room to the left. Go into that room and kill the two vampires in there. As you try to make your way down the stairs, they'll likely try to come up. When you get to the bottom, you'll see a round grate in the floor directly ahead of you. Don't walk over it or you'll fall in. There are spikes and various other traps down there that are hard to avoid so it's best to just avoid the grate itself.
Go up the central spiral and then cross the small bridge just to your left. Follow this path through a couple of small rooms and it will lead you back to the beginning except on the other side of a wall. You'll find a small alcove with a pull chain and a window. Pull the chain to open the gate just to your left and the gate further ahead in the distance.
Go through the gate to your left and follow it to the newly opened gate ahead. Go inside the cavern and up the ramp.
In this long room, you'll be attacked by a few Hounds and vampires. Go up the middle of the room and when you can, take a left. Take the stairs up a level and then make your way to the NW part of the room. Pull the chain next to the gate to open it. Make your way through the next room with a bunch of potions.
Before entering the next room, it will be good to know there are pressure plates in there. Be careful crossing them or change to the vampire lord and float over them (no guarantee though). At the end of the hall will be double doors. Go through to enter a gathering room.
This room is quite dangerous with numerous vampires in it. If you are trying to play as the Vampire Lord in this room, remember that if you run out of magicka, you can land and attack with melee. If you kill an enemy with a power melee attack, you will kill them by feeding which will restore some health. If the enemies give you trouble, particularly as the Vampire Lord, lead them back down the stairs and over the pressure plates to make quick work of them.
When you've cleared out the room, search the dead bodies for a key and then enter the tunnel at the back of the lower level. In the next room, you'll have to be sure you're in your normal form. Go to the center of the room and fill the Bloodstone Chalice. When you go to leave, you'll be approached by two vampires. These two will argue amongst themselves but it seems that they are much more interested in attacking you. They shouldn't be too difficult compared to the last encounter however. Kill them both and then "loot" their bodies to take their blood. With the Chalice filled and the Vampire blood, head back to the castle to report in. The fastest way is through the back of this cave which will bring you up through the back room of the schooma den.