Talk to Farkas to get your next quest. He will send you to talk to Skjor. Skjor will tell you about a piece of Wuuthrad that was recently discovered and he wants you to collect it. He will tell you to go talk to Farkas who will be accompanying you on your test. Talk to Farkas and he will tell you to meet him at Dustman’s Cairn.
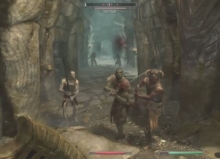
Enter the dungeon with Farkas. His job is to help you with this quest so feel free to run and let him deal with the heavy lifting if you need to. Move past the table in the first room and down some ramps to a crypt. At this point some Draugr will wake up and attack you. Using fire is a good tactic against them. Watch out for their Frostbite spell which can slow you down, making closing the distance difficult. Dispatch them and continue through the catacombs.
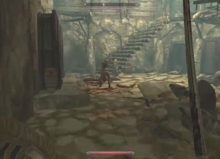
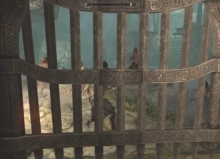
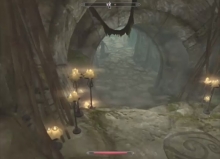
You’ll come out of the catacombs, go through some tunnels and you’ll come to a rather large room with stairs leading down to the middle. There’s a room to the back left. Enter that room and pull the lever in there. The gate will come crashing down behind you and Farkas will tell you he’ll find the release for it to let you out. No sooner does he say that than he gets ambushed. After Farkas deals with his attackers, he’ll open the gate for you and let you out. Head for the door on the left to get out of this room.

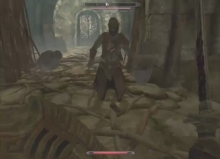
The next few halls will be littered with Silver Hand enemies. They aren’t particularly difficult and depending on your disposition, they may be easier than the Draugr you’ve been fighting because of the lack of magic. Cut through them until you come to another room with two floors. You’ll immediately see a Silver Hand, likely with their back turned. Kill them and any who come down the stairs, then loot the chest under the stairs. Head up the stairs and remove any more resistance. Walk around this level and you’ll pass a room with a Boss chest to the east and the exit will be to the south.
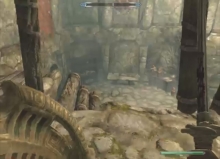
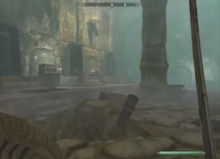
In the next room, just drop down and continue heading south. You’ll come to a wooden door and beyond that, you’ll enter more catacombs. As you make your way down through the catacombs, you’ll come across both Draugr and Silver Hand. Normally, you might expect them to fight each other but they don’t frequently seem interested in each other. Keep making your way through them until you come to a large, open room filled with ruins.
All around will be crumbled columns and bridge pieces. As you make your way across the room, be on the lookout for more Silver Hand, particularly higher up on the bridge sections. You’ll be attacked by a few enemies, some of which will be archers. Keep making your way to the south and through some double doors. Watch for a pressure plate on the floor between two flights of stairs in the next hallway.
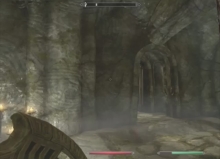
When you get closer to the end of the hallway, you’ll approach a set of black doors but watch for an ambush from the sides. Kill the Silver Hand and make your way through the door. You’ll enter a new zone but you’ll go through the same thing on this side of the door. You’ll find two wooden doors ahead of you and you’ll be ambushed by Silver Hand from either side. On the far side you’ll come to more catacombs. Watch for waking Draugr on the sides. You can frequently kill them before they can attack.
Once you start coming along Silver Hand as well as Draugr, you will be coming to the end of this hallway. It can get quite crowded but the hallways make for a very nice funnel. Once they approach you in a semi-linear fashion, use the Unrelenting Force shout (which you should have gotten during Dragon Rising). Try and kill one on the ground and more if they have been separated. Once they are up, start back tracking down the hallway to get them to line up again, and then shout. Rinse and repeat until they are all dead. Head through the door at the end of the hallway.
You’ll come to a room with stairs directly in front of you and a door on either side on the bottom floor. The door on the right side will be pickable and has an extra room full of goodies while the door to the left will lead you onward. This next room will be long. On the far side will be a locked door and to your left will be a raised area with a chest on it. Open the chest and it will contain the “Dustman’s Cairn” key which will open the locked door. Go through that door.
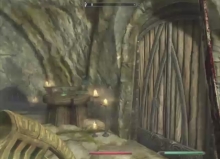
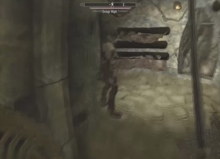
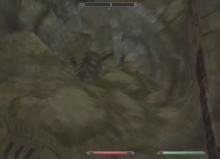
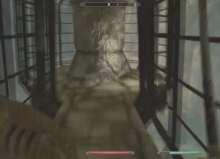
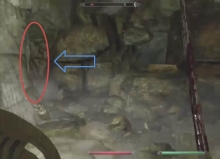
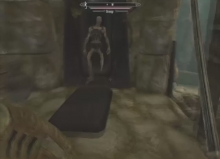
The next hallway will have three skeevers. Kill them, round the bend to the right and on the left will be an open doorway. Go through that doorway into an embalming chamber and on your right will be a closed double door. Go through that door and turn right. You should see a pile of rubble blocking your path. Very close to that rubble and on the left wall will be a tiny hole that you can slip through (see following picture).
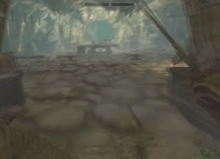
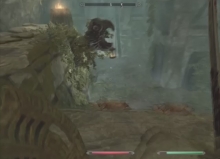
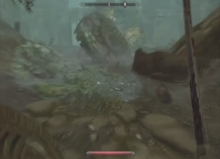
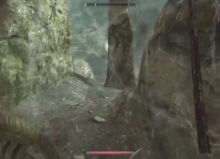
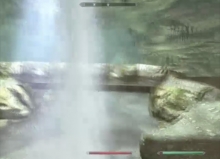
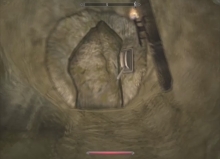
There are a few more skeevers in this little cave. Of more importance is the spider’s nest that you’ll find yourself in at the end. There should only be a few spiders but there are a few spider egg sacs that you can raid in here. Take what you will and then head left from where you entered. You’ll come to a room with a waterfall and some bridges over a stream. Take the high road and cross the bridges but watch for Draugr on the far side. If you have Unrelenting Force, you can use it to knock them off of the bridges. They won’t suffer a whole lot of damage but it will separate them to make the fight easier.
Cross the bridges and exit the room through the cave to the left. You’ll enter another stretch of catacombs which will likely be uneventful. At the bottom will be a set of doors leading to the final room. Walk into it and you will notice standing coffins to the left and right as you enter. Walk down the middle of the room, up the stairs to the table on the far side. Behind that table is a Word Wall. Check it out for a new word of power, and then turn to the table. Prepare for a little bit of a battle.
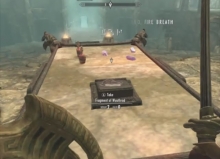
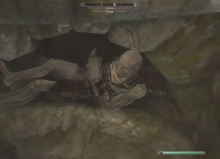
Grab the fragment of Wuuthrad on the table (and the soul gems if you’re interested). All of the coffins will start opening, one at a time. As you kill some, more will open so you will pretty consistently have 3-5 Draugr wandering around. Keep in mind that Farkas isn’t killable and that you have a LOT of room in here. Don’t get too focused on holding the high ground but, instead, keep moving. This will take advantage of staying alive while allowing Farkas to kill some Draugr. The last Draugr will open a coffin upstairs that has a hole in the back. Go through this hole.
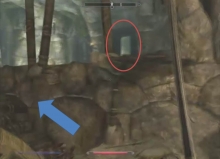
You’ll enter a long cave. You’ll move through a light into the previous zone. At the end of this cave will be a stone door with a lever just to the left of it. Pulling the lever will open the door. You’ll reenter a familiar room. Go right to exit the Cairn. Once you are outside, head back to Jorrvaskr and meet up with the Companions in the back.